
The short version
30-second read- The Chaos Altar gives the most XP per bone. About 504 per dragon bone, against 348 at the libation bowl and 252 at a gilded altar, in exchange for level 38 Wilderness risk.
- The libation bowl is the safe budget altar. From 30 Prayer and Children of the Sun it needs about 28% fewer bones than a gilded altar for roughly 8% less XP an hour.
- Light both incense burners every trip. Unlit, the gilded altar drops from 350% to 250% of a bone's burying XP, about 72 XP lost per dragon bone.
- Four quests give 14,531 Prayer XP. The Restless Ghost, Priest in Peril, Recruitment Drive and Holy Grail reach level 30 before you buy a single bone.
Overview
Prayer is a buy-it-with-bones skill, and almost every decision in it is about how much you are willing to pay per XP. The methods differ by speed, cost and risk rather than by mechanics.
It is also a milestone skill. Protection prayers, Piety, Rigour and Augury each sit at a specific level, and most accounts get more out of reaching one of those than out of finishing 99.
Three altars carry almost all bone training: the gilded altar in a player-owned house, the Chaos Altar in the Wilderness, and the libation bowl at the Teomat in Varlamore. Below them sit ensouled heads, the Ectofuntus, Pest Control points and passive XP from a bonecrusher. Pick the milestone first, then the altar.
| Detail | Value |
|---|---|
| Skill type | Combat support |
| Fastest safe method | Gilded altar with both burners lit (75 Construction), 350% XP per bone, about 642,600 XP an hour with dragon bones |
| Safe and cheaper per XP | Libation bowl at the Teomat (30 Prayer, Children of the Sun): 348 XP per dragon bone with sunfire wine, against 252 at a gilded altar |
| Cheapest per XP | Chaos Altar in level 38 Wilderness: 350% XP and a 50% chance the bone is not used, about 504 XP per dragon bone |
| Ironman method | Chaos Altar, the libation bowl if you want to stay out of the Wilderness, and ensouled heads from Slayer |
| Key milestones | 43 Protect from Melee, 70 Piety, 74 Rigour, 77 Augury |
| Passive option | Bonecrusher (hard Morytania Diary) while you kill monsters |
| 99 reward | Prayer cape |
Pick Your Prayer Training Method
Bone prices move every day, so the fairest way to compare cost is XP per bone: the more XP a bone gives, the fewer you buy. Hourly rates and XP per bone below come from the wiki's Pay-to-play Prayer training comparison, which assumes you use each bone on the altar by hand.
| Method | XP/hr (dragon bones) | XP per dragon bone | Attention | Requirements | Best for |
|---|---|---|---|---|---|
| Gilded altar, both burners lit | 642,600 | 252 | High | 75 Construction, or a house party host (mains only) | Mains short on time |
| Libation bowl, sunfire wine, making your own shards | 591,600 | 348 (290 with plain blessed wine) | High | 30 Prayer, Children of the Sun | Safe and cheaper than gilded; ironmen |
| Chaos Altar, level 38 Wilderness | 504,000 (up to 860,000 with noted bones on a quiet world) | About 504 | High, plus watching for PKers | Members world | Cheapest per XP; ironmen |
| Ensouled dragon heads | 343,200 at 220 heads an hour | 1,560 per head | Medium | 90 Magic, Arceuus spellbook | Slayer byproduct, no Wilderness |
| Ectofuntus | Slower than any altar | 288 | Medium, many steps | Priest in Peril | HCIM before a gilded altar |
| Pest Control points | About 40,000 at 80 Prayer | No bones: 100 points = 15,840 XP at 70–73 | Medium | Combat 40/70/100 per lander, 25 Prayer | Accounts already playing for Void |
| Bonecrusher | Passive | 36 (72 with the elite Morytania Diary) | None | Hard Morytania Diary | Slayer and bossing |
| F2P: big bones plus vile ashes | Just under 116,000 | 15 per big bone | High | None | Free-to-play accounts |
Rates are the wiki's figures for efficient play with no alt accounts or runners. Expect less if you click slowly, and more if you have help: the wiki puts the gain at 20–25% at a gilded altar and 40–45% at the Chaos Altar with a second account running bones. Pest Control rates come from the Ironman Prayer guide, and the free-to-play rate from Free-to-play Prayer training.
Libation Bowl vs Chaos Altar vs Gilded Altar
The gilded altar and the Chaos Altar both give 350% of a bone's burying XP. The gilded altar needs both incense burners lit to get there; the Chaos Altar gets there on its own. What separates them is the Chaos Altar's 50% chance not to consume the bone, and the same bone can be saved again on the next offering. The wiki averages that to twice the gilded altar's XP per bone, or seven times what you would get for burying it.
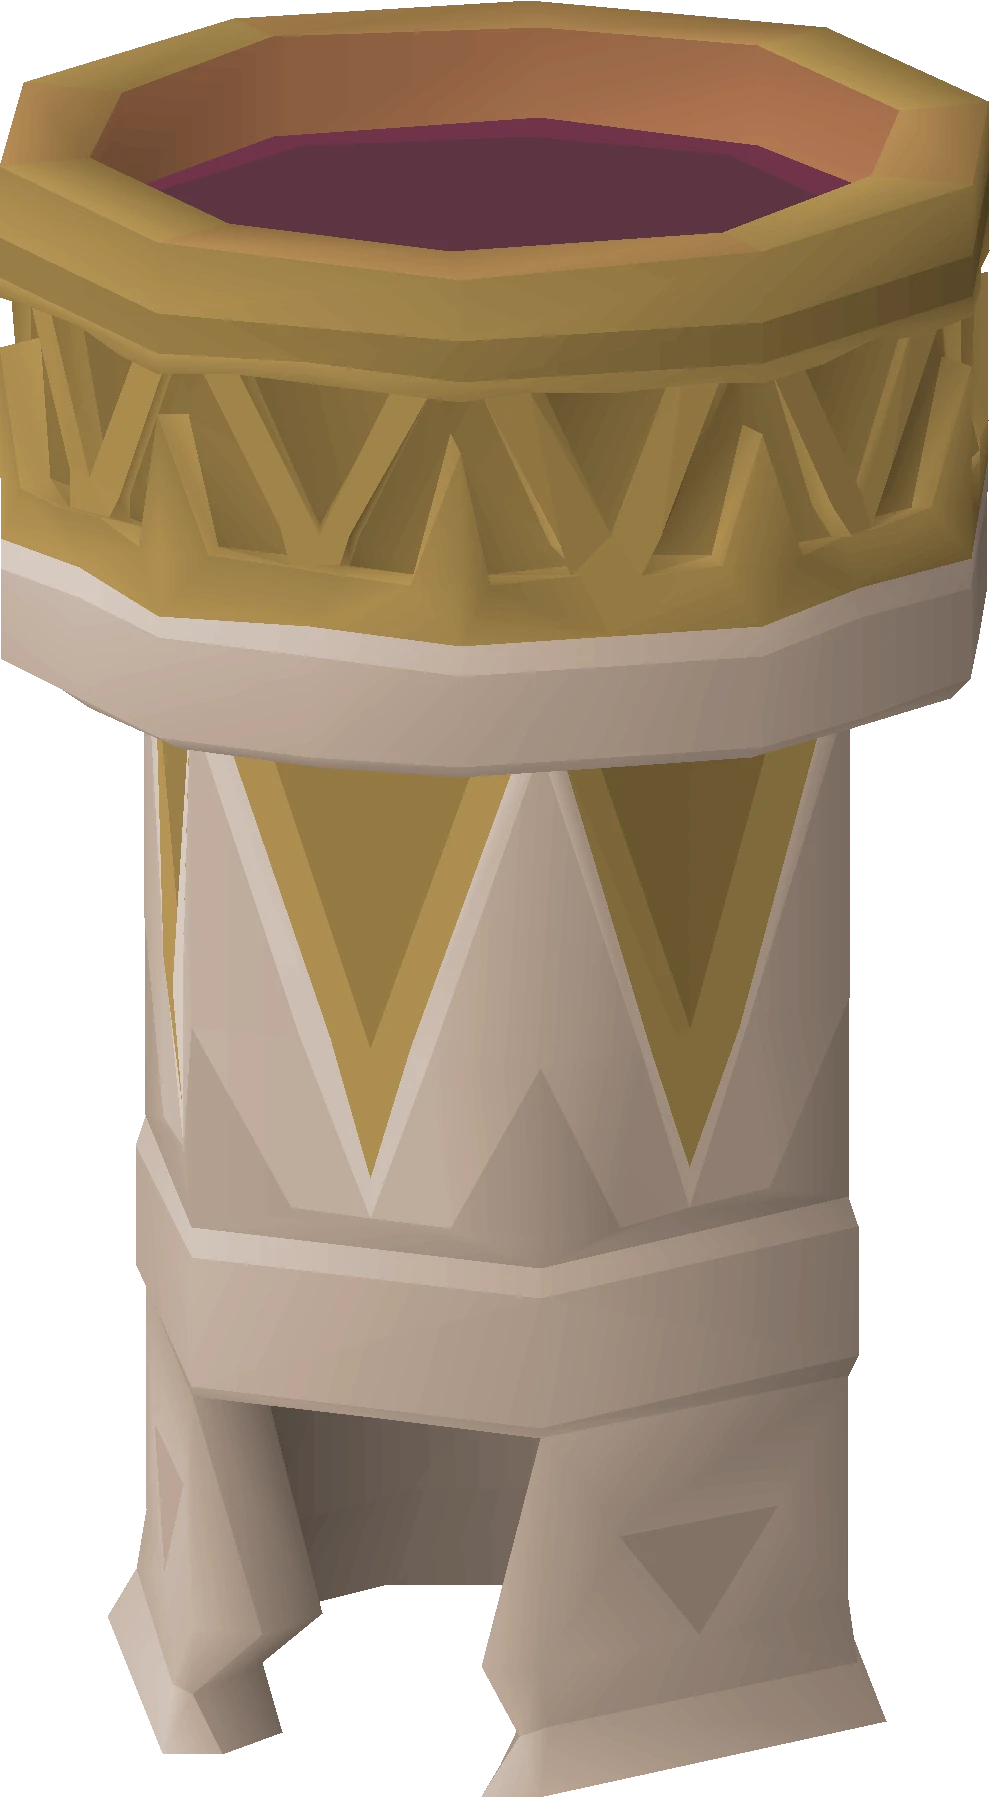
The libation bowl works differently. You bless bones at the exposed altar, chisel them into blessed bone shards, then sacrifice the shards at the libation bowl for 5 XP each with blessed wine or 6 XP each with blessed sunfire wine. A dragon bone breaks into 58 shards, so it is worth 290 or 348 XP, which lands between the two altars on cost and close to the gilded altar on speed.
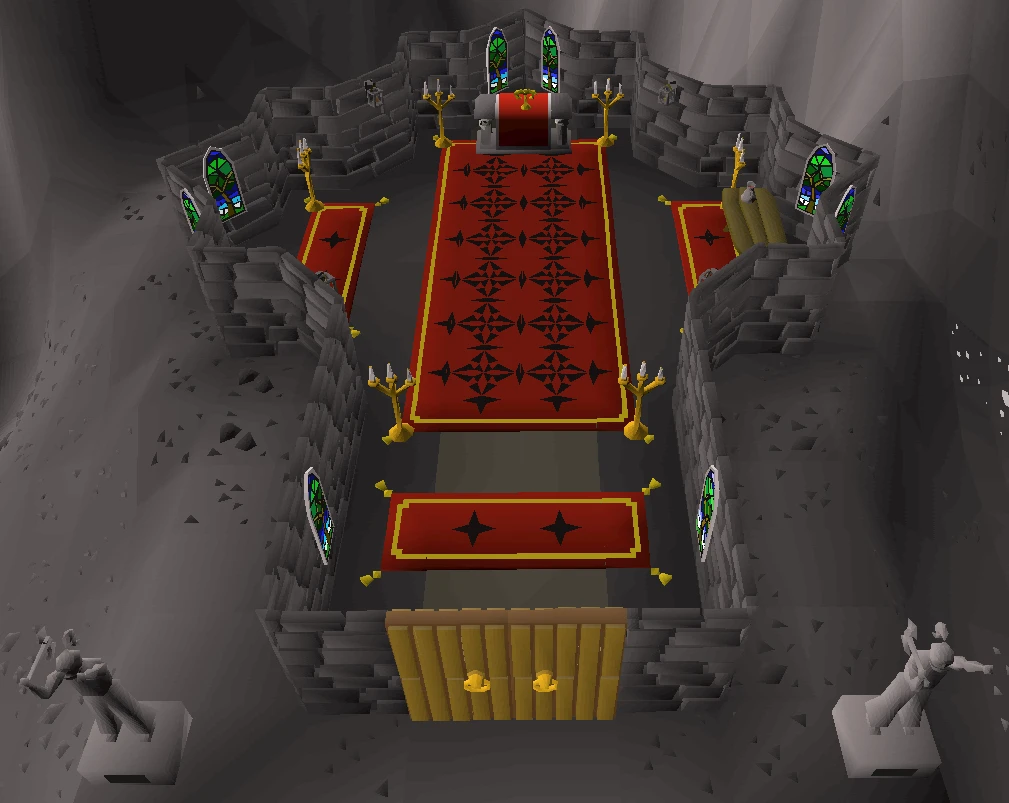
The price of the Chaos Altar is the location. The Chaos Temple sits in level 38 Wilderness, west of the Lava Maze, in a multicombat zone, and player killers check it constantly because they know people are standing there with bones.
| Detail | Gilded altar (player-owned house) | Chaos Altar (Wilderness) | Libation bowl (the Teomat, Varlamore) |
|---|---|---|---|
| XP per offering | 350% with both burners lit, 300% with one, 250% with none | 350% | 5 XP per shard (blessed wine), 6 XP per shard (blessed sunfire wine) |
| Bone saved | Never, unless you wear Zealot's robes (up to 5%) | 50% per offering, 52.5% with the full Zealot's set | Zealot's robes can save individual shards, never wine charges |
| Average XP per dragon bone | 252 | About 504 | 348 with sunfire wine, 290 without |
| XP/hr with dragon bones (wiki) | 642,600 | 504,000 | 591,600 including shard making |
| XP/hr with superior dragon bones (wiki) | 1,338,750 | 1,050,000 | 1,234,200 |
| Requirement | 75 Construction to build your own, or a host's house | None to offer, but only members get the bonus | 30 Prayer and Children of the Sun for Varlamore access |
| Fees and extras | Phials in the Rimmington general store, 5 coins per noted bone; 2 marrentill per trip | The Elder Chaos druid next to the altar, 50 coins per bone | Virilis un-notes for 10 coins per bone; 1 jug of wine per 400 shards, plus 2 sunfire splinters per jug for sunfire wine |
| Getting there | House teleport, or the Rimmington portal on worlds 330, 465 or 512 for house parties | Ghorrock Teleport (96 Magic) then south, burning amulet to the Lava Maze then south-west, Cemetery Teleport (71 Magic, Arceuus) then north, or an obelisk to level 44 with the hard Wilderness Diary | Pendant of Ates to Ralos' Rise, or the quetzal to the Teomat |
| Risk | None | Anything you carry in, multicombat PKers | None |
| Ironman access | Your own altar only, unless the host is in your Group Ironman group | Full access | Full access |
The practical rule from the wiki: if you move a goal from the gilded altar to the Chaos Altar, buying 53% of the bones you would have needed gives you about a 97% chance of getting there. That is the whole saving in one number, and it is why the Chaos Altar is the default for anyone who does not mind losing a trip now and then. Bring only the noted bones you are prepared to lose in one visit, keep a teleport ready, and let the druid un-note an inventory at a time.
| Bone | Bury XP | Gilded altar, both burners | Libation bowl, sunfire wine | Chaos Altar average |
|---|---|---|---|---|
| Big bones | 15 | 52.5 | 72 | 105 |
| Dragon bones | 72 | 252 | 348 | 504 |
| Wyvern bones | 72 | 252 | 348 | 504 |
| Lava dragon bones | 85 | 297.5 | 408 | 595 |
| Hydra bones | 110 | 385 | 558 | 770 |
| Dagannoth bones | 125 | 437.5 | 600 | 875 |
| Ourg bones | 140 | 490 | 672 | 980 |
| Superior dragon bones (70 Prayer) | 150 | 525 | 726 | 1,050 |
For any altar, divide the current bone price by the XP column and pick the cheapest per point. Dragon and wyvern bones give the same 72 XP, so buy whichever is cheaper that day. Superior dragon bones give the most per bone but need 70 Prayer before you can offer them.
How the libation bowl works
- 1
Bring noted bones and a chisel to Virilis at the bottom of the exposed altar, south of the Teomat.
He un-notes them for 10 coins each.
- 2
Bless the bones at the exposed altar, then break them into shards with the chisel. Using the chisel by hand is far faster than letting it run: the wiki puts active processing at about 4,000 bones an hour against 1,000 on auto.
- 3
Turn jugs of wine into sunfire wine with 2 sunfire splinters each and a pestle and mortar, then bless them at the exposed altar. Splinters cannot be added to wine that is already blessed.
- 4
Fill the bowl and sacrifice.
Each action uses up to 100 shards and 2 Prayer points, so one jug (400 shards) costs 8 points. Click the bowl repeatedly to sacrifice faster than the 4-tick auto rate.
- 5
Recharge at the Shrine of Ralos in the southern building, or bring prayer potions so you never leave the bowl.
Blessed wine cannot be banked, so only bless as many jugs as you have shards for. A full inventory of 27 blessed sunfire wines covers 10,800 shards, which is 64,800 XP in about 65 seconds of sacrificing and 216 Prayer points drained. If your shards are already made, sacrificing alone runs at about 1,124,000 XP an hour with sunfire wine at 62–86 Prayer. Chiselling your own dragon bones roughly halves that, and the wiki's all-in figure is 591,600 at 1,700 bones an hour.
How to cut Chaos Altar risk
- 1
Suicide runs:
carry one inventory of unnoted bones, offer them, then die to the wine of Zamorak on the table or to the Chaos Fanatic and bank from your respawn point. The wiki puts this at about 2,000 bones an hour, 500,000 XP an hour with dragon bones.
- 2
Noted bones:
much faster, up to 860,000 XP an hour with dragon bones, but you risk the whole stack. The wiki only recommends it for very low combat levels (3–20), whom most PKers ignore, or for high-level accounts in tank gear.
- 3
Pray while you offer:
the altar also recharges Prayer, so keep Protect from Magic up and top up at the altar between offerings.
- 4
Zealot's robes still work:
they stack with the altar's save chance, and on a suicide run they go to your gravestone, so you can loot them back on the next trip.
Quest and Diary Unlocks That Change the Route
Prayer's unlocks are less about access and more about which prayers you get and how cheaply you can offer bones. Start with the quests: The Restless Ghost, Priest in Peril, Recruitment Drive and Holy Grail give 14,531 Prayer XP between them, enough for level 30, which is also the libation bowl's requirement.
| Unlock | What it gives you |
|---|---|
| Restless Ghost, Priest in Peril, Recruitment Drive, Holy Grail | 14,531 Prayer XP in total, level 1 to 30. Priest in Peril also opens Morytania for the Ectofuntus. |
| Children of the Sun | Opens Varlamore, and with 30 Prayer, the libation bowl at the Teomat. |
| 75 Construction | Lets you build a gilded altar in your own house. With both burners lit it is the standard fast safe method. |
| King's Ransom | Piety at 70 Prayer and 70 Defence, once you have also finished the Knight Waves Training Grounds. |
| Dexterous prayer scroll | Unlocks Rigour at 74 Prayer (70 Defence). Comes from Chambers of Xeric. |
| Arcane prayer scroll | Unlocks Augury at 77 Prayer (70 Defence). Also from Chambers of Xeric. |
| Holy Grail | 11,000 Prayer XP with no Prayer requirement. |
| The Great Brain Robbery | 6,000 Prayer XP. Needs 50 Prayer to start. |
| Shades of Mort'ton | Zealot's robes come from gold chests in the Shade Catacombs. The gold keys need 80 Firemaking. Each piece is a 1.25% chance the bone is not used. |
| Hard Morytania Diary | The bonecrusher, from a ghost disciple at the Ectofuntus. It crushes bones from your kills for half their burying XP, or the full amount with the elite diary. |
Recommended Equipment and Boosts
Prayer has no combat gear requirement. The equipment that matters either raises XP per bone or reduces how many bones you need.
| Item / boost | Effect |
|---|---|
| Gilded altar | Built at 75 Construction. 350% XP with both burners lit, 250% with neither. |
| Zealot's robes | Four pieces, each a 1.25% chance the bone is not consumed (5% for the set). Works at both altars, per shard at the libation bowl, at the Ectofuntus and on ensouled heads. |
| Sunfire splinters | 2 per jug of wine turn it into sunfire wine, raising shard XP from 5 to 6, an extra 400 XP per jug. |
| Bonecrusher | Charged with ecto-tokens. Crushes bones from kills automatically for half the burying XP, full XP with the elite Morytania Diary. |
| Bonecrusher necklace | A bonecrusher combined with a dragonbone necklace and a hydra tail. Same crushing effect plus the necklace's prayer restore. |
| Ash sanctifier | Charged with death runes. Scatters ashes from kills for half their XP, full XP with the elite Kourend & Kebos Diary. |
| Ectoplasmator | 250 Zeal Tokens from Soul Wars, needs 40 Prayer. Spectral monsters give Prayer XP equal to 20% of their max health, and it stacks with the bonecrusher. |
| Dragon bones | 72 XP each. The standard mid-game bone. |
| Wyvern bones | 72 XP each, the same as dragon bones. |
| Dagannoth bones | 125 XP each; the fast option when the price allows. |
| Superior dragon bones | 150 XP each, the most per bone on this list. Need 70 Prayer. |
| Ourg bones | 140 XP each. |
| Ensouled heads | Arceuus reanimation spells give Prayer XP; the Ironman staple. Full table below. |
| Marrentill / incense burners | Each burner is lit with a marrentill. Keep both lit for the full 350%. |
Ensouled Heads: XP per Head
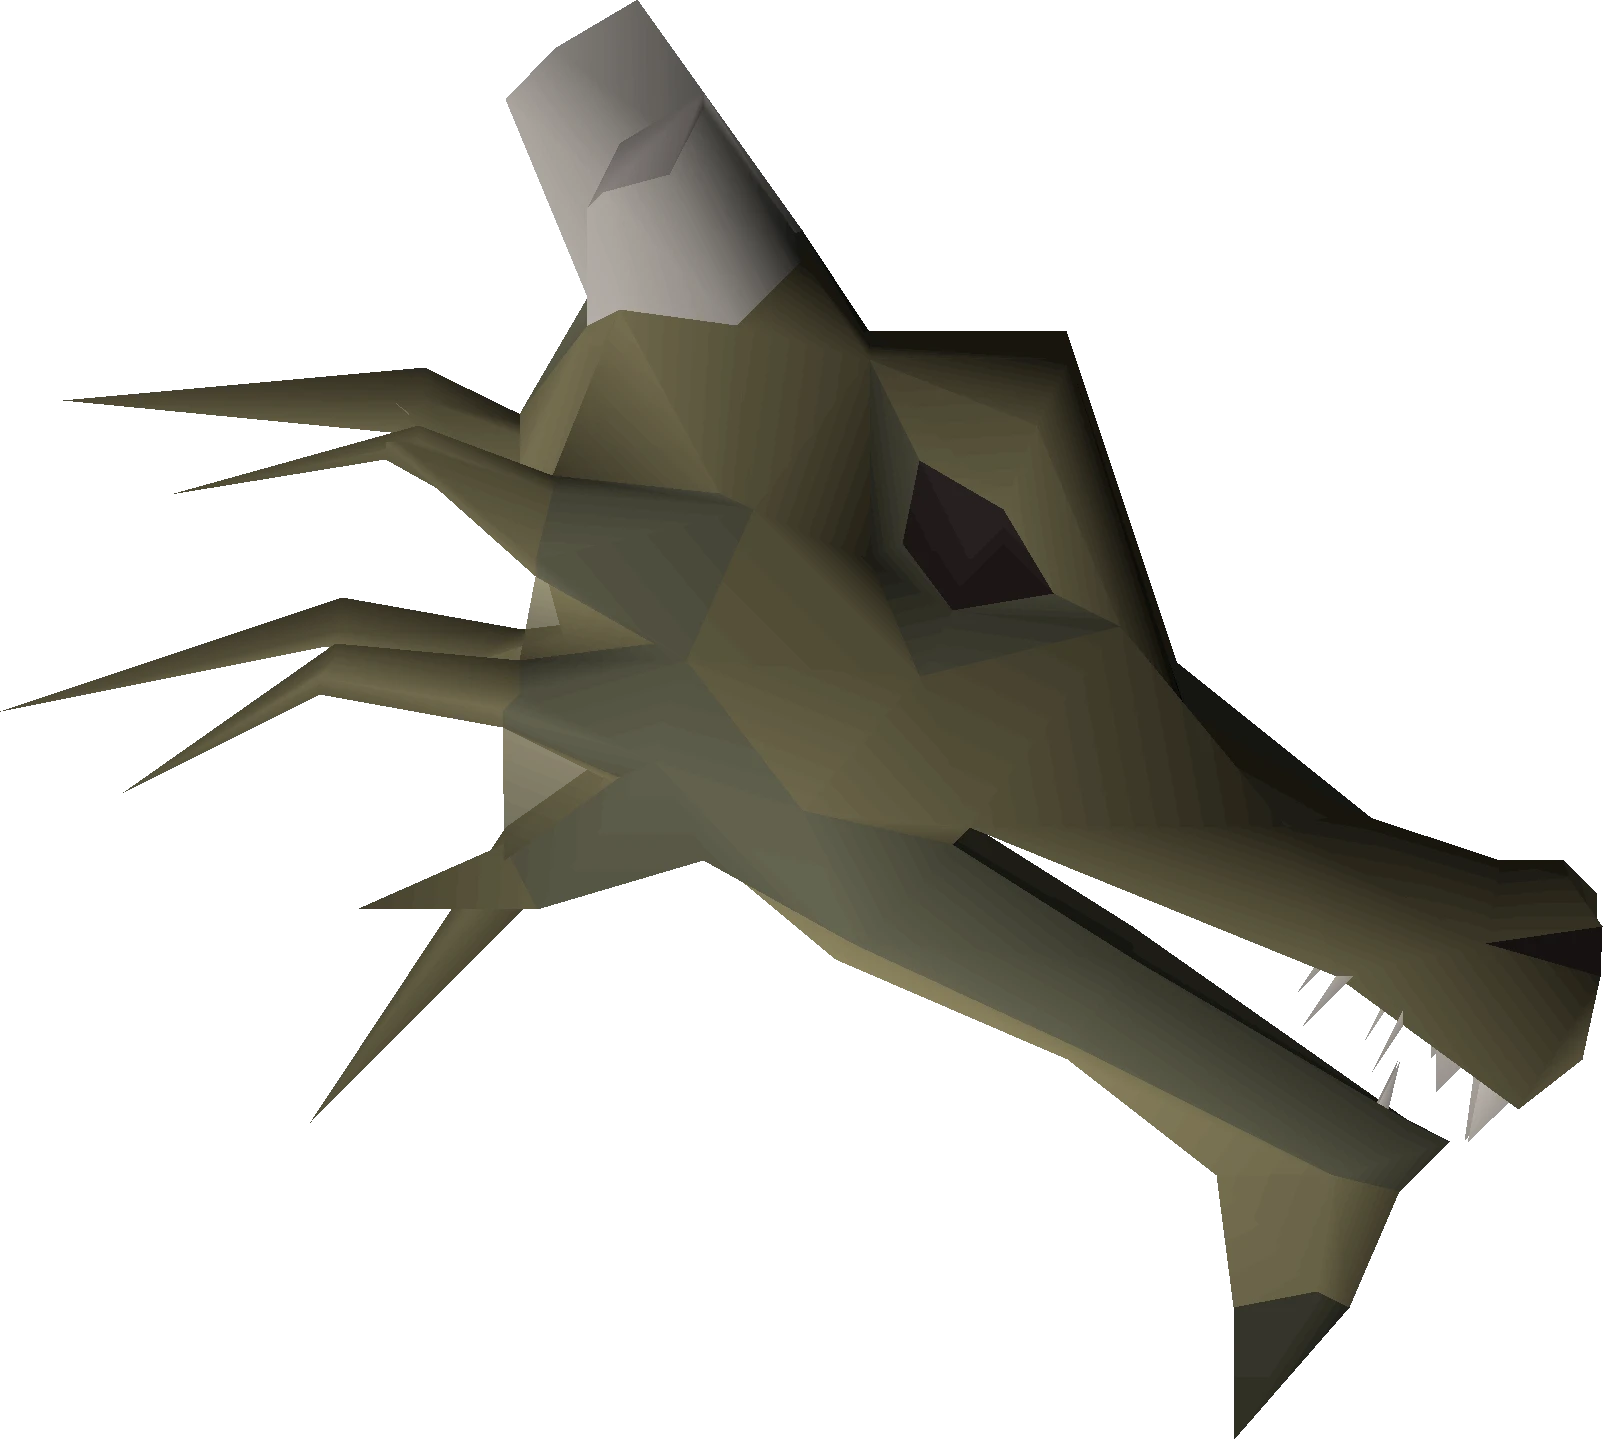
Ensouled heads drop from many Slayer monsters. Cast the matching reanimation spell from the Arceuus spellbook, kill what rises, and the Prayer XP lands on the kill. Reanimated monsters count toward your Slayer task, except reanimated dragons, and you can cast on a dropped head without banking it.
| Head | Spell (Magic level, Magic XP) | Prayer XP per head | XP/hr at 220 heads an hour |
|---|---|---|---|
| Bear | Basic Reanimation (16, 32) | 480 | 105,600 |
| Giant | Adept Reanimation (41, 80) | 650 | 143,000 |
| Horror | Adept Reanimation (41, 80) | 832 | 183,040 |
| Kalphite | Expert Reanimation (72, 138) | 884 | 194,480 |
| Dagannoth | Expert Reanimation (72, 138) | 936 | 205,920 |
| Bloodveld | Expert Reanimation (72, 138) | 1,040 | 228,800 |
| Demon | Expert Reanimation (72, 138) | 1,170 | 257,400 |
| Hellhound | Expert Reanimation (72, 138) | 1,200 | 264,000 |
| Aviansie | Master Reanimation (90, 170) | 1,234 | 271,480 |
| Abyssal | Master Reanimation (90, 170) | 1,300 | 286,000 |
| Dragon | Master Reanimation (90, 170) | 1,560 | 343,200 |
Runes per cast: Basic is 4 body and 2 nature runes, Adept 4 body, 3 nature and 1 soul, Expert 3 nature, 1 blood and 2 soul, Master 4 nature, 2 blood and 4 soul. The 220 heads an hour figure assumes high combat stats and banked heads reanimated at the Dark Altar (fairy ring CIS). At that pace, 70 to 77 Prayer is 474 dragon heads, about 2.2 hours.
Level-by-Level Training Table
Prayer levels come from bones, so the route is really a choice of altar and bone tier. Pick the milestone you need first, then decide how you are paying for it.
| Levels | Method | Notes |
|---|---|---|
| 1–30 | Quest XP | Restless Ghost, Priest in Peril, Recruitment Drive and Holy Grail: 14,531 XP. |
| 30–43 | Big or dragon bones at any altar | Reach 43 for Protect from Melee before anything else. From 30 the libation bowl is open. |
| 43–70 | Dragon bones at a gilded altar or the libation bowl | The workhorse of the mid game. Both burners lit at a gilded altar; sunfire wine at the bowl. |
| Any level | Chaos Altar (alternative) | Same 350% plus a 50% chance not to use the bone, so about twice the XP per bone. Level 38 Wilderness, multicombat. |
| Any level | Ensouled heads (alternative) | Requires the Arceuus spellbook. The Ironman route and a decent main option. |
| Any level | Ectofuntus (alternative) | 400% per bone, but every worship needs bonemeal and a bucket of slime. Slower than any of the three altars. |
| 70 | Piety milestone | Requires King's Ransom and the Knight Waves Training Grounds. A natural stopping point for melee accounts. |
| 70–74 | Dagannoth or superior dragon bones | Step up bone tier for the Rigour push. |
| 74 | Rigour milestone | Needs the dexterous prayer scroll from Chambers of Xeric. |
| 77 | Augury milestone | Needs the arcane prayer scroll. The most common real stopping point. |
| 77–99 | Superior dragon or ourg bones | Only worth it if you specifically want the cape. |
Hours and bones to each goal
| Goal (XP needed) | Gilded altar | Libation bowl, sunfire | Chaos Altar |
|---|---|---|---|
| 43 to 70 (687,288 XP), dragon bones | 2,728 bones, 1.1 h | 1,975 bones, 1.2 h | About 1,364 bones, 1.4 h |
| 70 to 77 (737,954 XP), dragon bones | 2,929 bones, 1.1 h | 2,121 bones, 1.2 h | About 1,465 bones, 1.5 h |
| 77 to 99 (11,558,850 XP), superior dragon bones | 22,017 bones, 8.6 h | 15,922 bones, 9.4 h | About 11,009 bones, 11.0 h |
| 1 to 99 (13,034,431 XP), dragon bones only | 51,724 bones, 20.3 h | 37,456 bones, 22.0 h | About 25,862 bones, 25.9 h |
Hours divide the XP gap from the Experience table by the wiki's hourly rate for each altar; bones divide it by XP per bone, so quest XP and Zealot's robes bring both down. Chaos Altar bone counts are averages because the save is random. For comparison, Pest Control needs about 4,400 commendation points for 70 to 77, or about 22 hours at the 200 points an hour the wiki's UIM Prayer guide gives for the veteran lander with hard Combat Achievements.
Fastest Route
By the wiki's hourly numbers the gilded altar is still the fastest safe method, with the libation bowl about 8% behind it on dragon bones. The bowl needs about 28% fewer bones for the same XP, though, so it is the better buy unless an hour saved is worth more to you than the extra bones.
- 1
Reach 75 Construction and build a gilded altar, or use a host's altar on worlds 330, 465 or 512.
- 2
Get Zealot's robes if you have 80 Firemaking; 5% of bones saved is 5% fewer bones to buy.
- 3
Light both burners every trip.
Unlit, the altar drops from 350% to 250%.
- 4
Use each bone on the altar by hand.
The wiki counts about 2,550 bones an hour that way, against about 1,070 if you let the offering run.
- 5
Bank at the Camelot chest on a PvP world and teleport back to your house, so each trip is a fixed click pattern.
- 6
Do the Prayer quest rewards first.
Holy Grail alone is 11,000 XP.
- 7
Stop at your milestone.
Most accounts need 77 for Augury, not 99.
Cheapest and Most Affordable Route
- The Chaos Altar is the cheap method that is still fast: the same 350% as a gilded altar and half your bones come back, at the cost of PK risk.
- The libation bowl is the cheapest safe altar: 348 XP per dragon bone with sunfire wine against 252 at a gilded altar. Budget 10 coins per bone to Virilis, one jug of wine per 400 shards and 2 sunfire splinters per jug.
- Mining calcified rocks in the Cam Torum mine banks about 2,200 shards an hour, 11,000 to 13,200 Prayer XP worth, with no bones bought at all.
- The Ectofuntus gives 400% per bone, a little more than a gilded altar, but each worship needs bonemeal from the grinder and a bucket of slime. The wiki calls it slower and not much cheaper than a gilded altar.
- With the medium, hard or elite Morytania Diary, Robin in Port Phasmatys turns 13, 26 or 39 bones a day into bonemeal and slime for you, which is free Ectofuntus XP.
- Pest Control costs no GP: 100 points buy 15,840 Prayer XP at 70–73, and more at higher levels. Our Pest Control guide covers the lander choice and points per game.
- Ensouled heads are often a byproduct of Slayer, so they cost time rather than GP.
- The bonecrusher gives Prayer XP on everything you kill while you train other things.
- Do every Prayer quest reward before buying a single bone.
- Use big bones and regular dragon bones rather than premium tiers if cost is the priority.
AFK and Low-Intensity Route
- Prayer has no truly AFK altar. Offering bones is a click per bone at a gilded altar or the Chaos Altar.
- The libation bowl is the least clicky altar: it sacrifices 100 shards per action on its own every 4 ticks while you have wine, shards and Prayer points.
- Calcified rocks at Cam Torum are the AFK way to collect shards for the bowl, at about 2,200 shards an hour.
- The bonecrusher is the closest thing to passive XP: it builds up while you do Slayer or bossing. The ash sanctifier does the same for demonic ashes.
- Ensouled head reanimation is a slower loop with more time between decisions than altar offering.
- The Ectofuntus is repetitive rather than AFK; the pace is slow but the clicks never stop.
Ironman Route
- The Chaos Altar is the usual Ironman altar. Twice the XP per bone matters more when every bone came from your own kills.
- The libation bowl is the safe alternative from 30 Prayer: no Wilderness, 348 XP per dragon bone with sunfire wine, and jugs of wine from Sunlight's Sanctum in Aldarin, which has an unlimited supply.
- You cannot use another player's gilded altar unless they are in your Group Ironman group, and the wiki rates building your own as costly for little gain over the Chaos Altar.
- Ensouled heads from Slayer tasks are the safe main route. They arrive as a byproduct of content you are doing anyway.
- Do the hard Morytania Diary for the bonecrusher. Upgrading it to the necklace needs a dragonbone necklace from Vorkath and a hydra tail from the Alchemical Hydra.
- Pest Control points are a low-effort top-up once you have 100 combat for the veteran lander; the wiki puts it near 40,000 XP an hour at 80 Prayer.
- Do not chase 99. Reach the milestone your build needs and spend the bones on something else.
Where ironmen get bones
| Source | What you get | Notes |
|---|---|---|
| Green dragons, Wilderness | Dragon bones | The fastest banked Prayer XP early. With the elite Wilderness Diary they drop noted bones, up to 300–330 kills an hour with a dragon hunter lance. |
| Green dragons, Myths' Guild basement | Dragon bones | The hardcore ironman choice after Dragon Slayer II, killing blue dragons while the greens respawn. |
| Blue dragons | Dragon bones | Safespots in Taverley Dungeon, or the Dragon nest east of Tal Teklan after Children of the Sun. |
| Vorkath | Superior dragon bones | Guaranteed every kill, plus a chance at noted dragon bones. |
| Alchemical Hydra | Hydra bones | Guaranteed every kill. |
| Dagannoth Kings | Dagannoth bones | Noted after the elite Fremennik Diary. |
| Calcified rocks, Cam Torum | Blessed bone shards | About 2,200 shards an hour for the libation bowl with no combat. |
HCIM, UIM and F2P notes
- 1
Hardcore ironmen:
the wiki recommends the Ectofuntus over the Chaos Altar. The libation bowl is the other safe option from 30 Prayer, and the Myths' Guild greens avoid the Wilderness for bones.
- 2
UIM:
blessed bone shards are stackable, so a UIM can bless and chisel bones after a Slayer trip and carry them as one stack until the next visit to the bowl. Dragon bones at the Ectofuntus give 288 XP each.
- 3
Free-to-play:
the Chaos Altar bonus is members-only. The fastest F2P method is burying big bones and scattering vile ashes together, just under 116,000 XP an hour. Our F2P training guide covers the cheap routes.
Common Mistakes
- 1
Offering with the burners unlit.
A gilded altar drops from 350% to 250%, which throws away 72 XP on every dragon bone.
- 2
Taking the whole bone stack to the Chaos Altar.
Bring one load, or use the suicide method; the wiki puts it at about 500,000 XP an hour with dragon bones and almost nothing at risk.
- 3
Blessing more wine than you have shards for.
Blessed wine cannot be banked, and one jug covers exactly 400 shards, about 7 dragon bones' worth.
- 4
Buying bones before the quest XP.
Four short quests give 14,531 XP and level 30, which also opens the libation bowl.
- 5
Chasing 99 when the account needed 77.
Augury is 1,475,581 XP; 99 is almost nine times that, about 45,900 more dragon bones at a gilded altar.
Useful Plugins
- 1
Chaos Altar / Wilderness
warnings: surfaces PK risk before you commit a load of bones.
- 2
Bank Tags
: one-click bone withdrawals so altar trips stay tight.
- 3
Inventory Tags
: keeps bones and marrentill in fixed slots.
- 4
Menu Entry Swapper
: makes bone-on-altar a single action.
- 5
XP Tracker
: compares altar tiers and bone tiers against your actual spend.
- 6
Prayer
: tracks prayer drain and remaining points during PvM, and at the libation bowl.
FAQ
What is the fastest way to train Prayer?
The gilded altar with both burners lit is the fastest safe method in the wiki's numbers: about 642,600 XP an hour with dragon bones and 1,338,750 with superior dragon bones. The libation bowl is close behind at 591,600 and 1,234,200 while using about 28% fewer bones. Noted bones at the Chaos Altar can go higher, up to 860,000 with dragon bones, but only while no PKers turn up.
Is the libation bowl better than the gilded altar?
On cost, yes: a dragon bone gives 348 XP at the bowl with sunfire wine and 252 at a gilded altar. On speed, the gilded altar is about 8% faster per hour with dragon bones. The bowl also needs no Construction, only 30 Prayer and Children of the Sun, so it is the better pick for most accounts that will not use the Wilderness.
Is the Chaos Altar worth the risk?
For most accounts, yes. It gives the same 350% as a gilded altar and has a 50% chance to keep the bone, so the wiki puts it at twice the gilded altar's XP per bone. It is in level 38 multicombat Wilderness, so carry only what you can afford to lose.
What Prayer level should I aim for?
43 for Protect from Melee, 70 for Piety, 74 for Rigour, 77 for Augury. Most accounts get more value from stopping at 77 than from reaching 99.
How do I train Prayer as an Ironman?
The Chaos Altar if you accept the Wilderness, the libation bowl or ensouled heads from Slayer if you do not, and a bonecrusher for passive XP. Dragon bones come from green dragons early and Vorkath later.
Do I need 75 Construction for Prayer?
No. The libation bowl needs no Construction at all, and worlds 330, 426, 465 and 512 are the official house party worlds, where hosts often have a gilded altar with both burners lit. The Rimmington portal is the quicker one to use, and Phials in the general store un-notes bones for 5 coins each.
How much does 99 Prayer cost?
Count it in bones and price them on the day. With dragon bones only, 1 to 99 is about 51,724 bones at a gilded altar, 37,456 at the libation bowl with sunfire wine and about 25,862 at the Chaos Altar. Quest XP and Zealot's robes trim each of those.
Still stuck on a mechanic? Ask the team on our Discord, it is free.
Bottom Line
Prayer is a milestone skill. Decide whether you need 43, 70, 74 or 77 before you decide how to pay for it.
The Chaos Altar gives the most XP per bone if you accept the Wilderness, the libation bowl is the safe pick that still saves about 28% of the bones a gilded altar would eat, and the gilded altar is for when hours matter more than GP. Ensouled heads and a bonecrusher are the low-risk Ironman answer.
If you just want Augury and Rigour without the bone bill, our Prayer training is hand-done.
Sources
Numbers and mechanics on this page come from these 13 OSRS Wiki pages:
Enjoyed the guide?
Drop a like — it helps other Adventurers find the good stuff.
Community
Comments
Silence in the hall…
Be the first Adventurer to leave a mark.
Join the thread
Add a comment
Tips, drops, or “this carried my account” — keep it useful.