

The short version
30-second read- Read the feather colour on rain fire. Red is melee, blue is magic and green is ranged, and the right prayer cuts the hit to 0-2.
- Do at least 25 damage to the body. Falling short cuts your loot by 95%, and joining after the body phase sharply reduces contribution.
- Hit the tail with crush only. Non-crush hits cap at 4 instead of 9, and keep your HP above 40 in that phase.
- Use a dragon hunter lance on the body. The segments are 1x1 targets, so a scythe of vitur does poorly there.
Overview: The Hueycoatl at a Glance
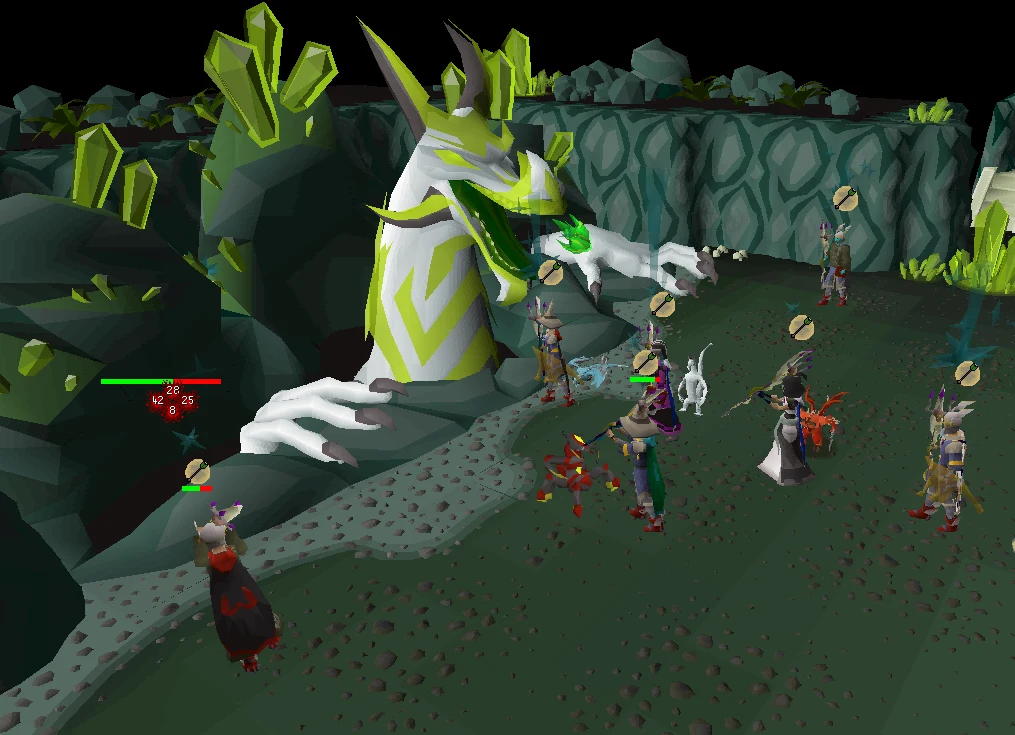
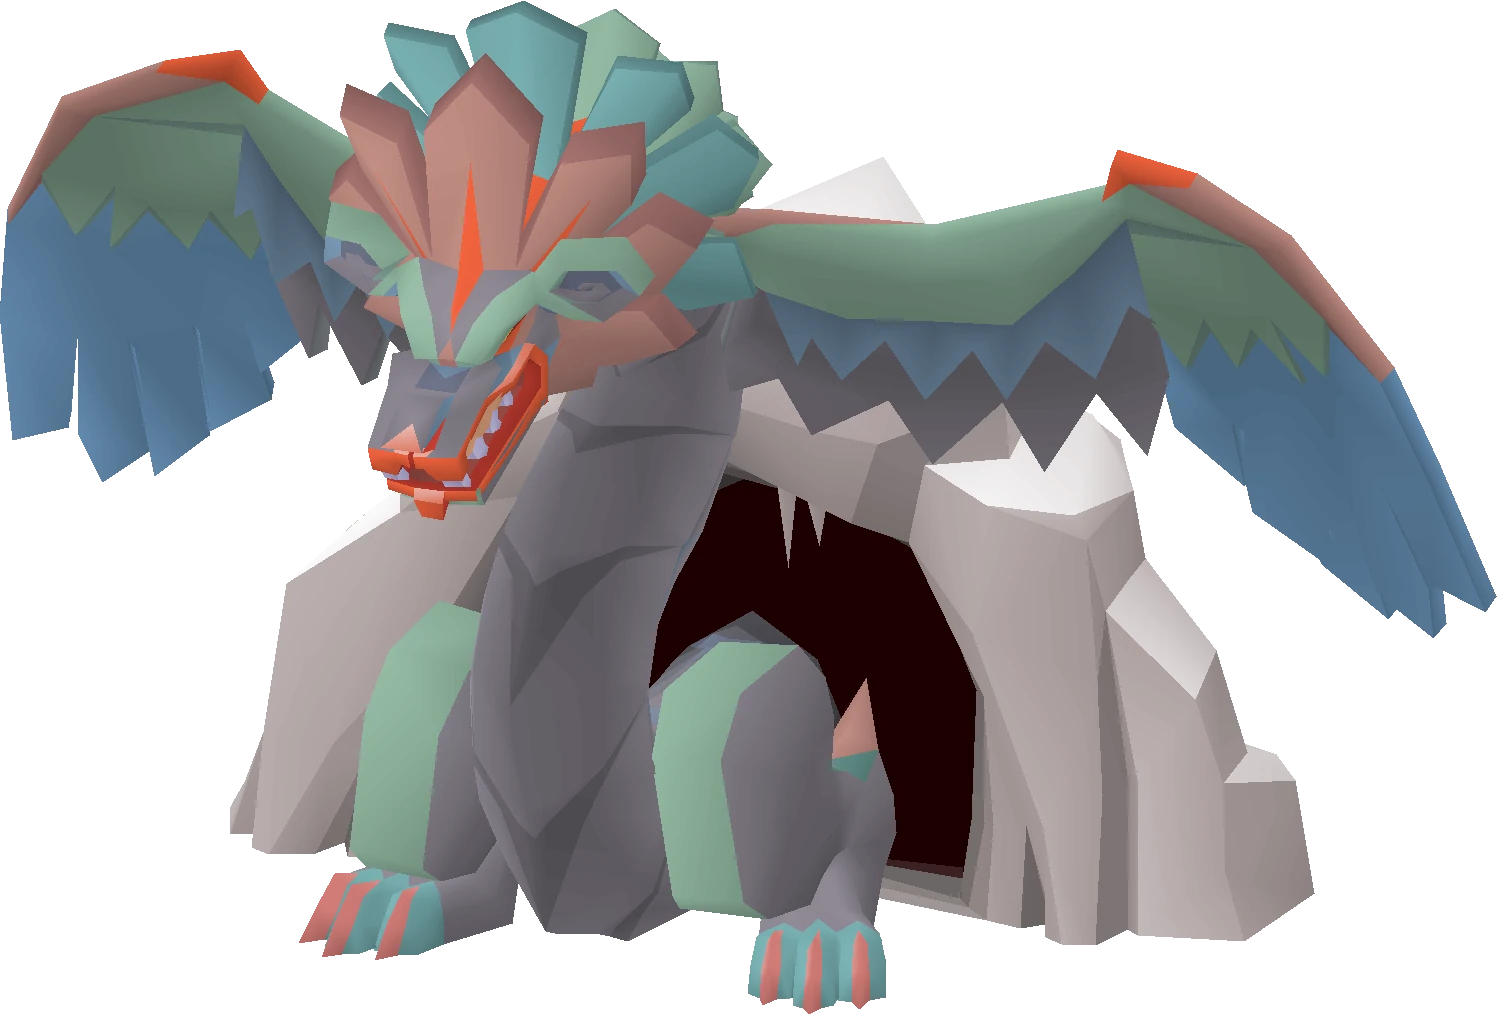
The Hueycoatl is a draconic world boss coiled around the Darkfrost, in the mountains near Cam Torum in Varlamore. Up to 20 players can fight her at once, or you can pay 50,000 coins (25,000 once you can claim the hard Combat Achievement rewards) for a private instance at the meeting flag next to the bank buffalo. A kill takes 4,050 damage over four phases: five body segments, the head, the tail, then a final head phase.
Her own hits are small. The head's attacks and rain fire top out at 14, the glowing symbols strike for up to 16, and the tail shockwave hits 20-25. People come for the dragon hunter wand at 1/105 and the tome of earth at 1/90, and you can solo her as well as mass her.
| Field | Detail |
|---|---|
| Solo or team | Team of up to 20, or solo in a private instance |
| Access requirement | Children of the Sun (needed to reach Varlamore) |
| Notable reward | Dragon hunter wand (1/105), tome of earth (1/90), Hueycoatl hide |
| Signature mechanic | Pillar prayers on the head, crush-capped tail phase |
| Hitpoints | 2,500 (head), 250 per body segment, 300 (tail) |
| Max hits | 14 (head, rain fire), 16 (lightning symbols), 25 (tail shockwave) |
| Released | 25 September 2024 |
Access Requirements
The boss has no quest or skill gate of its own, but Varlamore does: you need Children of the Sun finished to get there, then you speak to Taala at the base camp. Below 85 combat or 43 Prayer the game shows a warning, which you can click through.
The wiki's strategy page treats 60 Attack, Strength and Defence, 70 Hitpoints and 43 Prayer as the floor. The boss requirements checklist lists the other Varlamore gates by group.
How to Get to the Hueycoatl
- Pendant of ates: activate the statue of Ates just west of the base camp once, and from then on the pendant teleports you to the Darkfrost. The pendant drops from Amoxliatl at 1/25 and from frost nagua at 1/100.
- Quetzal Transport System: fly to Quetzacalli Gorge, run north-east through the gate, then north-west around the mountain.
- Climb the chains to enter the arena. You can join a fight in progress at any time, but joining after the body phase is cleared sharply cuts your contribution and loot.
- After a kill, slide down the slope to the east to reach the bank buffalo.
If you die, your grave appears at the base camp, so the walk back is short.
Recommended Combat Stats and Gear
| Check | Value |
|---|---|
| Prayers for its own attacks | 3 — Protect from Melee, Missiles and Magic |
| Its Defence level | 125 |
| Its Magic level | 50 |
| Its lowest defence bonus, per its infobox | crush (+0) |
| Elemental weakness | 60% to earth spells |
| Monster attributes | dragon |
- Body segments: the dragon hunter lance is best in slot. The scythe of vitur does poorly here because each segment is a 1x1 target.
- Head: scythe of vitur, dragon hunter lance, inquisitor's mace or soulreaper axe, in Inquisitor's or Torva armour.
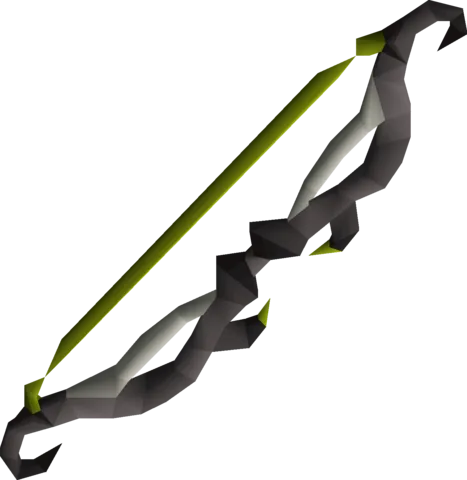
- Tail: a multi-hit crush weapon such as the dual macuahuitl (fastest with Blood Moon armour), glacial temotli, Torag's hammers or ursine chainmace, because the tail's per-hit cap rises from 4 to 9 when crush is your highest attack bonus.
- Specs: dragon claws or burning claws on the head, ideally while the braziers are lit. Claw or ursine chainmace specs on the tail only pay off solo or in a duo; in a trio or larger the tail phase is short, so save them for the head. Skip Defence drain weapons; they only take 5 levels off its 125 Defence.
- Tagged as a dragon, so dragonbane weapons such as the dragon hunter lance and wand get their bonus.
Inventory and Supplies
- Sharks or similar food. Keep your HP above 40 in the tail phase, where a shockwave and a lightning strike can land together.
- Prayer potions and one prayer regeneration potion. You switch between all 3 protection prayers.
- A super combat potion, or super attack and strength.
- A crush weapon for the tail if your main weapon is not one.
- Book of the dead and runes for thralls and Death Charge if you use Arceuus. Death Charge only works on the body and head, not the tail.
- No cannon: she is immune.
Mechanics: Attack Styles, Max Hits and Immunities
| Property | Value |
|---|---|
| Combat level | 642 |
| Attack styles | Melee, Magic, Ranged |
| Attack speed | Variable |
| Attacks on sight | Yes |
| Poisons you | No |
| Size | 7x7 (head) |
| Immune to cannon | Yes |
| Immune to thralls | No |
Rain fire is the attack you pray against, and the feather tells you which prayer. Red feathers with a smoking tail end are melee, blue feathers spin as they travel and are magic, and green feathers move with no obvious animation and are ranged. The right prayer cuts the hit to 0-2; the wrong one lets through up to 14. Glowing symbols appear near players and strike 4 ticks later for up to 16, so step off them as soon as they show.
Hueycoatl Strategy, Phase by Phase
Her stats do not scale with team size, so a bigger group simply kills faster. A best-in-slot solo kill averages about 8 minutes 20 seconds, most of it in the tail phase, while a well-geared trio finishes inside 5 minutes.
| Phase | What happens | What to do |
|---|---|---|
| 1. Body | Five body segments at the base, 250 HP each. They do not attack. | Kill all five while stepping off glowing symbols and praying against rain fire. The segments are 1x1 and hard to click, so use Tag-All or Mark object to highlight them. When the last one falls, the tail rises and opens the path to the summit. |
| 2. Head | The 2,500 HP head on the summit. Three pillars drain unless enough players hold their prayer: blue needs Protect from Magic, red Protect from Melee, green Protect from Missiles. | Split prayers across the colours. When the seer's charge bar fills while all three pillars are full, braziers light and give 30% extra damage. Teams of 1-2 cannot balance the pillars, so ignore the seer and pray only against rain fire. The phase ends at 50% health. |
| 3. Tail | She shields herself and the tail appears. Break its shield, then deal 300 damage. Hits cap at 4, or 9 if crush is your highest attack bonus, and misses still deal 1. The tail switches sides about every 20 seconds and slams a 20-25 shockwave each time it reappears. | Bring a multi-hit crush weapon. Attacks during the switch do not land, so time them. Run through the shockwave diagonally and keep your HP above 40. |
| 4. Final | The shield drops and she attacks faster, so expect more lightning. Shockwaves come about every 15 seconds. | Move diagonally toward each shockwave. The safe spots are the two farthest tiles at each end of the row in front of her. |
| Team size | Prayers per pillar |
|---|---|
| 1-5 | 1+ |
| 6-8 | 2+ |
| 9-11 | 3+ |
| 12-14 | 4+ |
| 15-17 | 5+ |
| 18-20 | 6+ |
Once she dies she respawns 30 seconds later, and anyone still on the summit gets knocked back down. For small teams, the Huey Host chat channel is where people group up.
Drops and What The Hueycoatl Is Worth
| Drop | Rate | Notes |
|---|---|---|
| Dragon hunter wand | 1/105 | Rate doubled in June 2025 |
| Tome of earth (empty) | 1/90 | Unique table |
| Hueycoatl hide (3) | 11/315 | Always 3 hides since June 2025 |
| Huberte (pet) | 1/400 | Base rate, scaled by your contribution |
| Tooth half of key (moon key) | 1/75 | Regardless of participation |
| Hard clue scroll | 1/50 | 1/47 with the hard Combat Achievement rewards |
| Huasca seed | 2/68 | Seed drop |
Every player rolls the unique table separately, at about 1/18 scaled by contribution, so a large group does not split one roll. To qualify with 5 or fewer players you need 25 damage on the body and 75 between the head and tail; with 6 or more, either 25 on the body or 75 across the whole fight. Under 25 body damage your rewards and pet chance drop by 95%.
Combat Achievements
The Hueycoatl has 11 Combat Achievement tasks worth 41 points, from Medium to Grandmaster; our Combat Achievements guide covers how the tiers work. They include You're a wizard (earth spells only), Pillar Lover (kill it while it is vulnerable), Is it a bird? (dragonbane weapons only), Perfect Hueycoatl (5 kills in a row with no avoidable lightning, tail slam or off-prayer damage) and Hueycoatl Speed-Runner (2:30 with three or fewer players).
Ironman Notes
Ironmen get their own drops in group fights, so the wand and hides can be farmed in a public mass. The tome of earth also drops here at 1/90, and earth spells are her 60% weakness.
Common Mistakes and Death Causes
- Leaving a pillar to drain because nobody on the team took its colour.
- Standing on a glowing symbol after it appears. It strikes 4 ticks later for up to 16.
- Hitting the tail with a non-crush weapon, where every hit caps at 4 instead of 9.
- Dropping under 40 HP in the tail phase, where a shockwave and a lightning strike can land together.
- Bringing a scythe for the body segments. They are 1x1 targets and the dragon hunter lance does better.
- Spending specs on Defence drain. It only takes 5 levels off her 125 Defence.
- Doing less than 25 damage to the body, which cuts your loot by 95%.
- Setting up a cannon she is immune to.
FAQ
What do I need to fight The Hueycoatl?
Children of the Sun, so you can reach Varlamore, and a word with Taala at the base camp. There is no other quest or level gate; the game only warns you below 85 combat or 43 Prayer.
Which protection prayer should I use at The Hueycoatl?
Match the rain fire: red feathers are melee, green are ranged, blue are magic. In the head phase with 3 or more players, you also hold the prayer for the pillar colour you were given.
How hard does The Hueycoatl hit?
Not hard. Her attacks and rain fire max at 14, the lightning symbols at 16 and the tail shockwave at 20-25. The head has 2,500 hitpoints, each body segment 250 and the tail 300.
Can you solo the Hueycoatl?
Yes. A private instance costs 50,000 coins, or 25,000 with the hard Combat Achievement rewards. Her stats do not scale with team size, so a best-in-slot solo kill takes about 8 minutes 20 seconds, mostly in the tail phase.
Can I use a dwarf multicannon at The Hueycoatl?
No. It is immune to cannon damage.
Where is The Hueycoatl and how do I get there?
She is coiled around the Darkfrost in the mountains near Cam Torum. The fastest route is a pendant of ates to the Darkfrost, once you have activated the statue of Ates west of the base camp. Without one, take the Quetzal to Quetzacalli Gorge, run north-east through the gate and north-west around the mountain, then climb the chains into the arena.
Is The Hueycoatl worth doing?
Yes, if you want the dragon hunter wand (1/105), the tome of earth (1/90) or the hides. Each player rolls their own loot, so it works in big public groups. We do not publish a GP per hour figure because that number changes with the Grand Exchange.
What kills people at The Hueycoatl?
Very little if you watch the floor. The damage that stacks up is a tail shockwave (20-25) landing together with a lightning strike, so stay above 40 HP during the tail phase.
Still stuck on a mechanic? Ask the team on our Discord, it is free.
Bottom Line
The Hueycoatl hits softly and rewards attention more than gear. Learn the feather colours, stay off the symbols, bring a crush weapon for the tail and keep your HP above 40 there, and the kills become routine.
If you would rather skip the grind for the wand or the Combat Achievements, our Hueycoatl service is done by hand, with no automation. Otherwise the bosses list has the full index.
Sources
Numbers and mechanics on this page come from these 2 OSRS Wiki pages:
Enjoyed the guide?
Drop a like — it helps other Adventurers find the good stuff.
Community
Comments
Silence in the hall…
Be the first Adventurer to leave a mark.
Join the thread
Add a comment
Tips, drops, or “this carried my account” — keep it useful.