
The short version
30-second read- NMZ is the most AFK melee training. A normal customisable rumble with absorptions at 1 HP gives up to 100,000–105,000 melee XP an hour.
- Guzzle the rock cake, do not eat it. Eat stops at 2 HP, where absorption drains nearly twice as fast as at 1 HP.
- Obsidian only boosts obsidian weapons. The set's 10% and the berserker necklace's 20% apply to the Toktz-xil-ak, not a whip or scimitar.
- Pick NMZ for AFK, Slayer for progress. Slayer adds drops and Slayer levels, and the Gemstone Crab covers accounts still missing the five NMZ quests.
Is Nightmare Zone Still Worth It for Melee?
Yes, if the goal is AFK melee XP. A normal customisable rumble with absorption potions needs one click every 20 minutes, and the Nightmare Zone strategies page puts that setup at up to 100,000–105,000 melee XP an hour, with more than 250,000 reward points on top. No other melee method lets you look away for that long.
What NMZ does not give you is loot. Every rumble costs coins, the bosses drop little more than bones, and the points go on overloads, absorptions and imbues. If you want GP and Slayer levels while you train, Slayer is the better use of the hours. If you have not done the quests yet, the Gemstone Crab fills the gap.
| Detail | Value |
|---|---|
| Location | North-west of Yanille bank; Minigame Teleport once unlocked |
| Unlock | Any 5 of the 38 quests on the wiki's list |
| Best XP setup | Normal customisable rumble, absorptions, 1 Hitpoint |
| Best points setup | Hard customisable rumble with Piety, up to about 400,000 points an hour |
| Dream cost | 22,000 coins for a normal customisable rumble, 12,000 with maximum quest points |
| Death | Safe: items and unused potion doses are kept (not safe for Hardcore Group Ironman) |
| Session cap | 6 hours, then the 6-hour logout |
For the full level-by-level routes outside NMZ, see our Strength, Attack and Defence guides. The rest of this page is the NMZ setup and the decision against Slayer and the crab.
Requirements: Which 5 Quests to Do First
You need any five quests from the 38 listed on the Nightmare Zone page. Which five matters, because a dream can only spawn bosses from quests you have finished, and a customisable rumble makes you enable at least five bosses.
The efficient route is the quests that unlock the low-Defence, melee-only bosses the AFK setup uses:
| Quest | NMZ boss | Quest requirements |
|---|---|---|
| Vampyre Slayer | Count Draynor | Free-to-play; defeat a level 34 vampyre |
| Tree Gnome Village | Khazard warlord | Defeat a level 112 Khazard warlord |
| Mountain Daughter | The Kendal | 20 Agility; a level 70 fight that can be safespotted |
| What Lies Below | King Roald | Rune Mysteries, 35 Runecraft |
| The Depths of Despair | Sand Snake | Client of Kourend (after X Marks the Spot), 18 Agility |
| Lost City | Tree spirit | 31 Crafting, 36 Woodcutting |
| The Ascent of Arceuus | Trapped Soul | Client of Kourend, 12 Hunter |
| Fight Arena | Bouncer | Defeat level 44, 63 and 137 enemies, all safespottable |
Lunar Diplomacy adds Me, the fifth boss in the wiki's usual pick, but it needs 61 Crafting, 65 Magic, 60 Mining and several prerequisite quests. Most accounts put Tree spirit or the Khazard warlord in that slot instead. Our Lost City walkthrough covers one of the eight.
Starting your first dream
- 1
Use Minigame Teleport from the Grouping interface once the quests are done, or fairy ring CLS and walk north-west.
- 2
Deposit coins in Dominic's coffer.
It only accepts multiples of 1,000.
- 3
Talk to Dominic Onion, choose the mode and difficulty, then drink the dream potion on the plinth.
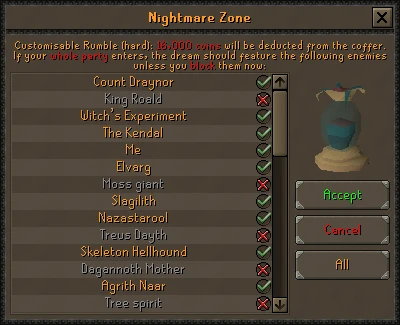
A customisable rumble shows the boss menu before the fee leaves the coffer.
- 4
Take potion doses from the barrels first.
No empty vials are needed, and unused doses are not lost if you die.
| Mode | Normal | Hard |
|---|---|---|
| Practice | Free | Free |
| Endurance | 1,000 | 5,000 |
| Rumble | 2,000 | 6,000 |
| Customisable rumble | 22,000 | 26,000 |
| Customisable rumble, maximum quest points | 12,000 | 16,000 |
Customisable Rumble: Normal vs Hard
On normal, bosses keep their quest stats. On hard they get more Hitpoints, Attack and Strength but the same Defence, so they hit harder and take longer to kill. That is why hard pays more points and less XP.
| Setup | Melee XP/hr | Points/hr | Attention | Best for |
|---|---|---|---|---|
| Normal custom rumble, absorptions, 1 HP | Up to 100,000–105,000 | 250,000+ | One click per 20 minutes | AFK 60–99, ironmen saving for imbues |
| Hard custom rumble, overloads and absorptions | 50,000–80,000 at 50–75 stats, then about 800–1,000 more per Attack and Strength level | About 250,000 | Re-dose every 5 minutes | Points without prayer potions |
| Hard custom rumble, Prayer and Piety | Up to about 90,000 | Up to about 400,000 | High: prayer potions and specs | Fastest imbues |
| Endurance, every boss | Not listed | 216,634 normal or 794,770 hard for a full clear | Medium | First points only |
| Practice | None | None | Any | Testing a boss, nothing else |
Pick normal if XP per click is the goal. Pick hard if you are farming points for imbues and will sit at the screen. Never train in practice mode: it gives no XP and no points, and the kill does not count for Slayer.
Three rules that protect your points
- 1
Enable as many bosses as your setup can handle.
Five is the minimum, and more enabled bosses means each kill pays a larger share of its points.
- 2
Disabling one boss disables its whole quest.
Turning off Damis also removes Dessous, Fareed and Kamil, since all four come from Desert Treasure I.
- 3
Never run Dream Mentor bosses without the Desert Treasure I bosses.
That combination applies an 83.33% penalty to every kill. Enable both or neither; the Recipe for Disaster bosses do not affect it.
Absorption, Overload and the 1 HP Trick
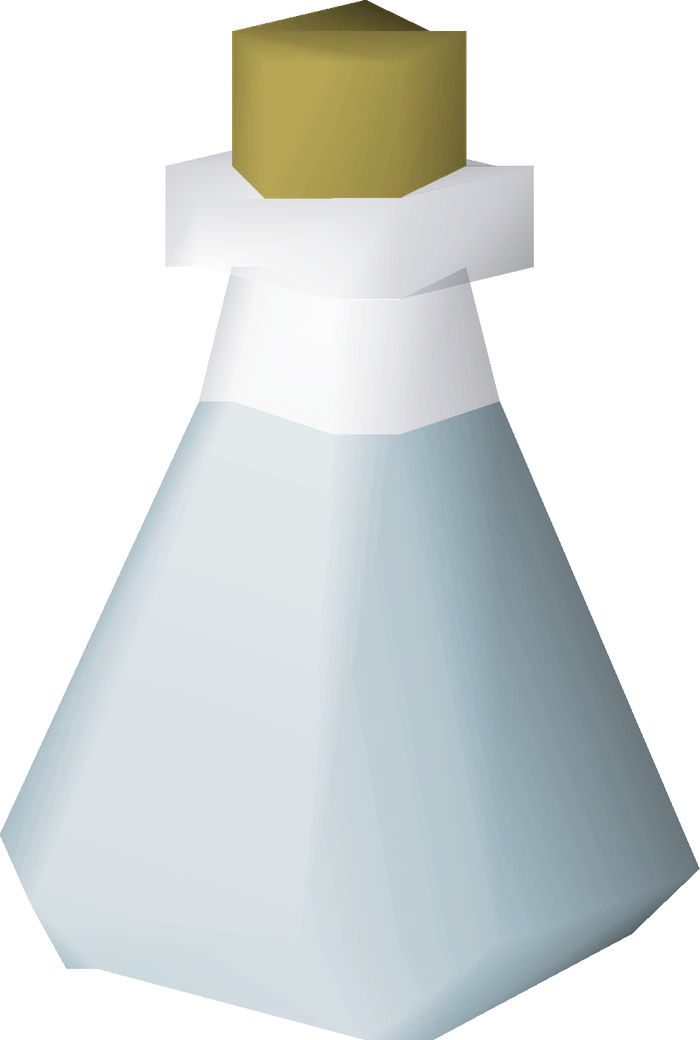
An absorption dose costs 1,000 points. It soaks the next 50 damage, and doses stack to a 1,000 cap. The counter does not carry over between dreams, and it does not block damage you deal to yourself (overloads, rock cakes) or poison from a boss.
The trick is your Hitpoints. A boss cannot hit you for more than you have, so at 1 HP every hit drains at most 1 absorption point. At 2 HP a hit can take 2, which the wiki says drains absorption nearly twice as fast.
An overload costs 1,500 points a dose and only works inside NMZ. It raises Attack, Strength, Defence, Ranged and Magic by 5 plus 15% of the level for five minutes, re-applying every 15 seconds so the boost holds. In return it deals 50 damage over several seconds, cannot be drunk below 51 HP, and heals you 50 HP when it ends.
| Level | Boost |
|---|---|
| 60–66 | +14 |
| 67–73 | +15 |
| 74–79 | +16 |
| 80–86 | +17 |
| 87–93 | +18 |
| 94–99 | +19 |
The start-of-dream routine
- 1
Drink absorptions until the counter reads 1,000.
That is 20 doses.
- 2
Sip an overload and wait for all 50 damage to land.
- 3
Guzzle the rock cake or feel the locator orb down to 1 HP.
Doing this while the overload is still hitting can kill you.
- 4
Flick Rapid Heal (22 Prayer) on and off every 50–60 seconds.
You regenerate 1 HP a minute, and the flick resets that timer.
- 5
Before the overload expires, make sure you have 200+ absorption left.
It heals you 50 HP as it ends, so re-dose straight away to drop back to 1.
Super combat potions are the cheaper option, and the wiki notes some players prefer them when playing less attentively. The overload's HP swing every five minutes is the only part of this setup that needs watching.
Dwarven Rock Cake vs Locator Orb
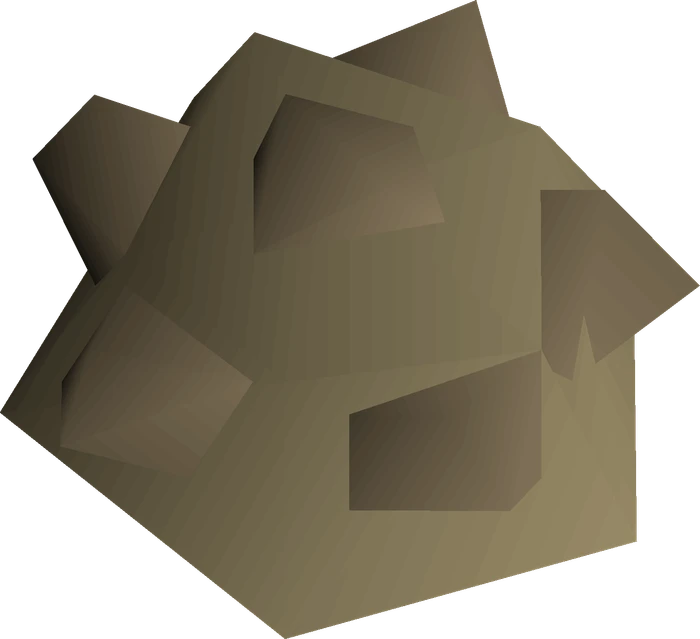
Both items take you to 1 HP without killing you. Since an October 2016 update the rock cake also hits through absorption points, so you can lower HP with a full counter.
| Detail | Dwarven rock cake | Locator orb |
|---|---|---|
| Where | Rohak, under White Wolf Mountain | Ava, Draynor Manor |
| Unlock | Freeing the Mountain Dwarf (Recipe for Disaster) | Dragon Slayer II, handed over during the quest |
| Cost | 100 coins each after the subquest | Free; Ava gives more after the quest |
| HP per click | Eat: 1, stops at 2 HP. Guzzle: 10% of current HP rounded down, plus 1 | 10, down to a minimum of 1 |
| Reaches 1 HP | Only with Guzzle | Yes |
| Catch | A hot cake needs gloves or Telekinetic Grab to pick up | Needs Dragon Slayer II progress |
The orb is the quicker of the two: a flat 10 per click, while Guzzle takes less than 10 below 90 HP. The cake is the answer before Dragon Slayer II: the dwarf part of Recipe for Disaster needs only Cook's Assistant, Another Cook's Quest and Fishing Contest, so most accounts can buy one early. Both are covered on the wiki's dwarven rock cake and locator orb pages.
Best NMZ Bosses for Melee
For the AFK setup, the wiki's normal-rumble pick is Count Draynor, Sand Snake, King Roald, The Kendal and Me. They attack only with melee, have low Defence and no mechanics that can kill you, and carry enough Hitpoints that you are not waiting on respawns. The points below are maximums that assume every quest done and every boss enabled, so a fresh account earns less.
| Boss | Quest | HP (normal) | Defence | Points normal / hard |
|---|---|---|---|---|
| Count Draynor | Vampyre Slayer | 35 | 30 | 224 / 7,135 |
| Sand Snake | The Depths of Despair | 60 | 20 | 244 / 5,294 |
| King Roald | What Lies Below | 75 | 30 | 448 / 8,056 |
| The Kendal | Mountain Daughter | 50 | 60 | 998 / 10,127 |
| Me | Lunar Diplomacy | 45 | 74 | 1,263 / 9,207 |
| Tree spirit | Lost City | 85 | 80 | 2,078 / 8,976 |
| Khazard warlord | Tree Gnome Village | 169 | 80 | 2,547 / 8,286 |
| Trapped Soul (undead) | The Ascent of Arceuus | 30 | 20 | 183 / 2,301 |
| Headless Beast (undead) | Getting Ahead | 100 | 42 | 1,365 / 12,429 |
With a salve amulet (e), swap The Kendal and Me for the undead pair, Headless Beast and Trapped Soul. The salve's 20% melee bonus against undead does not stack with a black mask. The Khazard warlord hits harder, but his high Hitpoints for his level make him a good pick for XP. Large bosses like the Sand Snake and The Kendal can block each other and stop your auto-retaliate.
Bosses to leave off
- 1
Normal AFK rumble:
Nazastarool (three forms cut XP), Black Knight Titan and Bouncer (both hit hard and burn absorption).
- 2
Hard rumble:
almost always disable Glod, Elvarg, Corrupt Lizardman, Chronozon and Barrelchest. The Lizardman's poison goes straight through absorption points. Treus Dayth keeps vanishing and Witch's experiment has four forms, so both cost points per hour.
- 3
Bonus XP bosses:
Moss Guardian (4.3 XP per damage), Dad (4.4), Ice Troll King (4.5) and Arrg (4.7) pay more than the usual 4. Dad stuns and knocks you back and Arrg attacks with Ranged, so they suit the attentive hard setup, not the AFK one.
Power-ups
Click Power surge and use a special attack weapon: it fills your spec bar and regenerates 20% a tick for 45 seconds. Zapper and Recurrent damage add points but no XP, so take them whenever they spawn. Skip Ultimate force on a points run, because its kills give no points.
NMZ Setup: Main and Budget
Strength bonus matters more than Defence here, because absorptions take the hits. The wiki's AFK list starts at Torva and the soulreaper axe. The table below is the mid-game version most players can actually put together.
| Slot | Main setup | Budget setup |
|---|---|---|
| Weapon | Toktz-xil-ak (60 Attack) with full obsidian, or the dual macuahuitl (70 Attack, 75 Strength) with full Blood Moon | Abyssal whip (70 Attack) for Attack or Defence, abyssal bludgeon (70 Attack and Strength) for Strength, or the dragon scimitar (60 Attack, Monkey Madness I) |
| Head | Obsidian helmet (set) or Neitiznot faceguard | Helm of Neitiznot |
| Neck | Berserker necklace (obsidian weapons only) or amulet of torture | Amulet of strength or amulet of glory |
| Cape | Fire cape | Mythical cape or mixed hide cape |
| Body | Obsidian platebody (60 Defence) | Fighter torso or rune platebody |
| Legs | Obsidian platelegs | Dragon or rune platelegs |
| Shield | Dragon defender with a one-handed weapon | Rune defender or Toktz-ket-xil |
| Hands | Barrows gloves | Rune gloves or combat bracelet |
| Feet | Primordial or dragon boots | Rune boots or climbing boots |
| Ring | Berserker ring (i) | Berserker ring (+4 Strength) until you can imbue it |
| Inventory | Locator orb, 6 four-dose overloads, 21 four-dose absorptions | Rock cake, 4–6 super combat potions, absorptions in every other slot |
The main inventory holds 84 absorption doses (84,000 points) and 24 overload doses (36,000 points), so a full restock is 120,000 points. Swap one slot for a special attack weapon such as dragon claws or a granite maul with the ornate handle if you want to use Power surge.
The obsidian catch
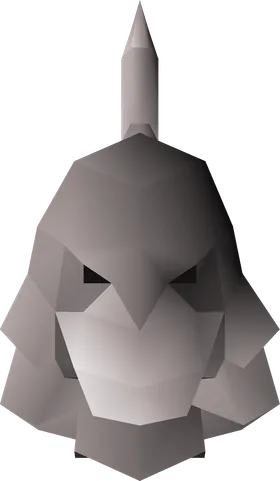
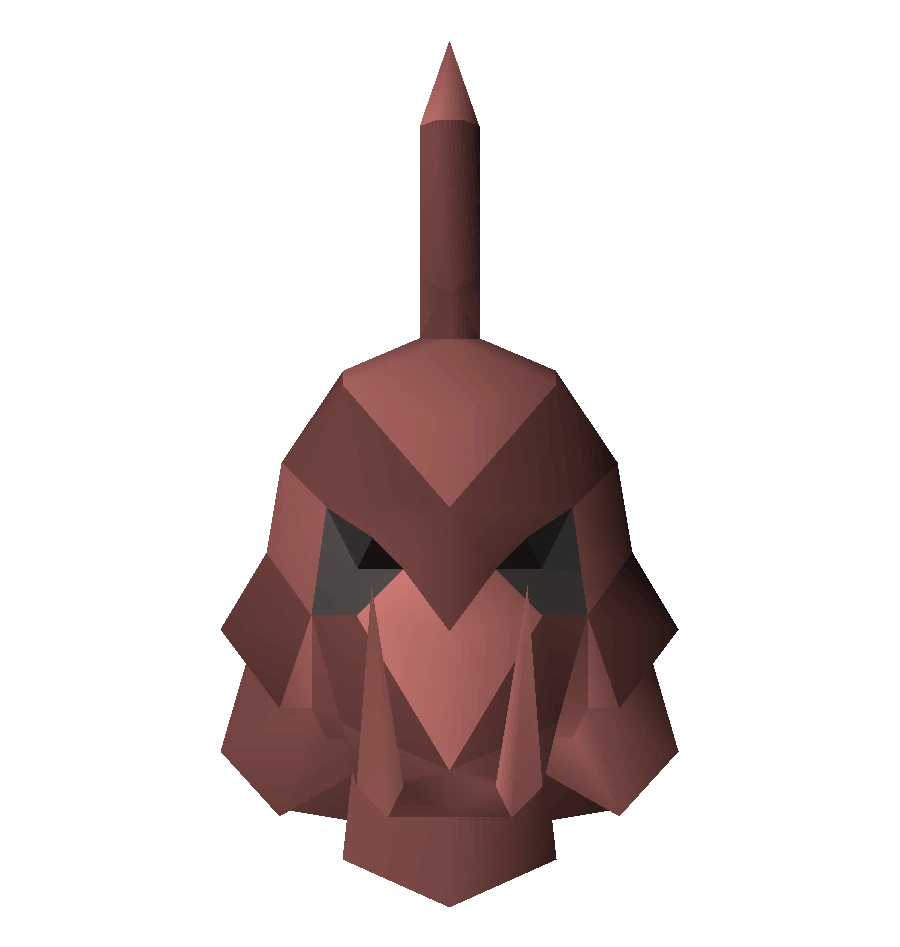
Obsidian is the strong budget-to-mid pick, with one condition. The helmet, platebody and platelegs together give 10% melee accuracy and strength, and the berserker necklace adds 20% damage, but only with obsidian weapons such as the Toktz-xil-ak. With a whip or scimitar you get neither bonus, and the necklace still costs -10 to every melee attack bonus and -20 to every defence. The wiki's melee training guide is blunt: if you cannot use all five items, do not use the Toktz-xil-ak. In this setup it also suggests leaving Attack and Defence at 60 and taking Strength to 99 first.
Dharok's at 1 HP
Dharok's set hits harder the lower your Hitpoints, so NMZ at 1 HP keeps it near its peak. The armour needs 70 Defence and the greataxe 70 Attack and Strength. The wiki rates it among the best AFK sets from about 85 Hitpoints, and the best points set from 92, but it degrades after 15 hours of use. Our Barrows guide covers getting the pieces.
NMZ vs Slayer vs Gemstone Crab for 60–99 Melee
These three cover most melee training from 60 onwards, and they are good at different things. NMZ is the most AFK. Slayer is the only one that pays you and levels a second skill. The Gemstone Crab needs one quest and no supplies at all.
| Detail | NMZ (normal rumble) | Slayer | Gemstone Crab |
|---|---|---|---|
| Melee XP/hr (wiki) | Up to 100,000–105,000 | Varies by task: 35,000–55,000 Slayer XP an hour on Duradel melee tasks, with about 4 melee XP per Slayer XP | No single figure; 3.5 XP per damage (87.5%), but no downtime and no overkill loss |
| GP | Costs 22,000 coins a dream; no drops; herb boxes for points (mains) | Drops cover supplies; gargoyles make upwards of 700,000 GP an hour | Free; the top 16 damage dealers mine 3 uncut gems per burrow |
| Clicks | One every 20 minutes | Constant: travel, banking, task swaps | Follow the crab through a cave about every 10 minutes |
| Requirements | Any 5 of 38 quests | A Slayer master for your level; Duradel needs 100 combat and 50 Slayer | Children of the Sun |
| Supplies | Absorptions and overloads bought with points | Food, prayer potions, cannonballs on some tasks | None: max hit 1, one attack every 7 ticks |
| Extra rewards | Points for imbues | Slayer XP, points, unlocks and drops | Uncut gems from opal to dragonstone |
| Best for | Second-screen AFK and imbues | Mains and irons who want progress and GP | Fresh 60s, no-quest accounts, free AFK |
Pick NMZ if you want the most time away from the screen and the imbues. Pick Slayer if you can play actively, because the drops and Slayer levels are progress NMZ never gives. Pick the Gemstone Crab if you lack the quests, or as free AFK XP while you do them.
The Slayer figures come from the Duradel table on the wiki's Slayer training page: 40,000 Slayer XP an hour meleeing abyssal demons or nechryael, 35,000 at dust devils and 55,000 at smoke devils. Gargoyles sit at 30,000 but are the profit task. The 4-to-1 ratio follows from the rules: a kill gives Slayer XP equal to the monster's Hitpoints, and melee gives 4 XP per damage. Our Slayer guide has the block lists to push those rates up.
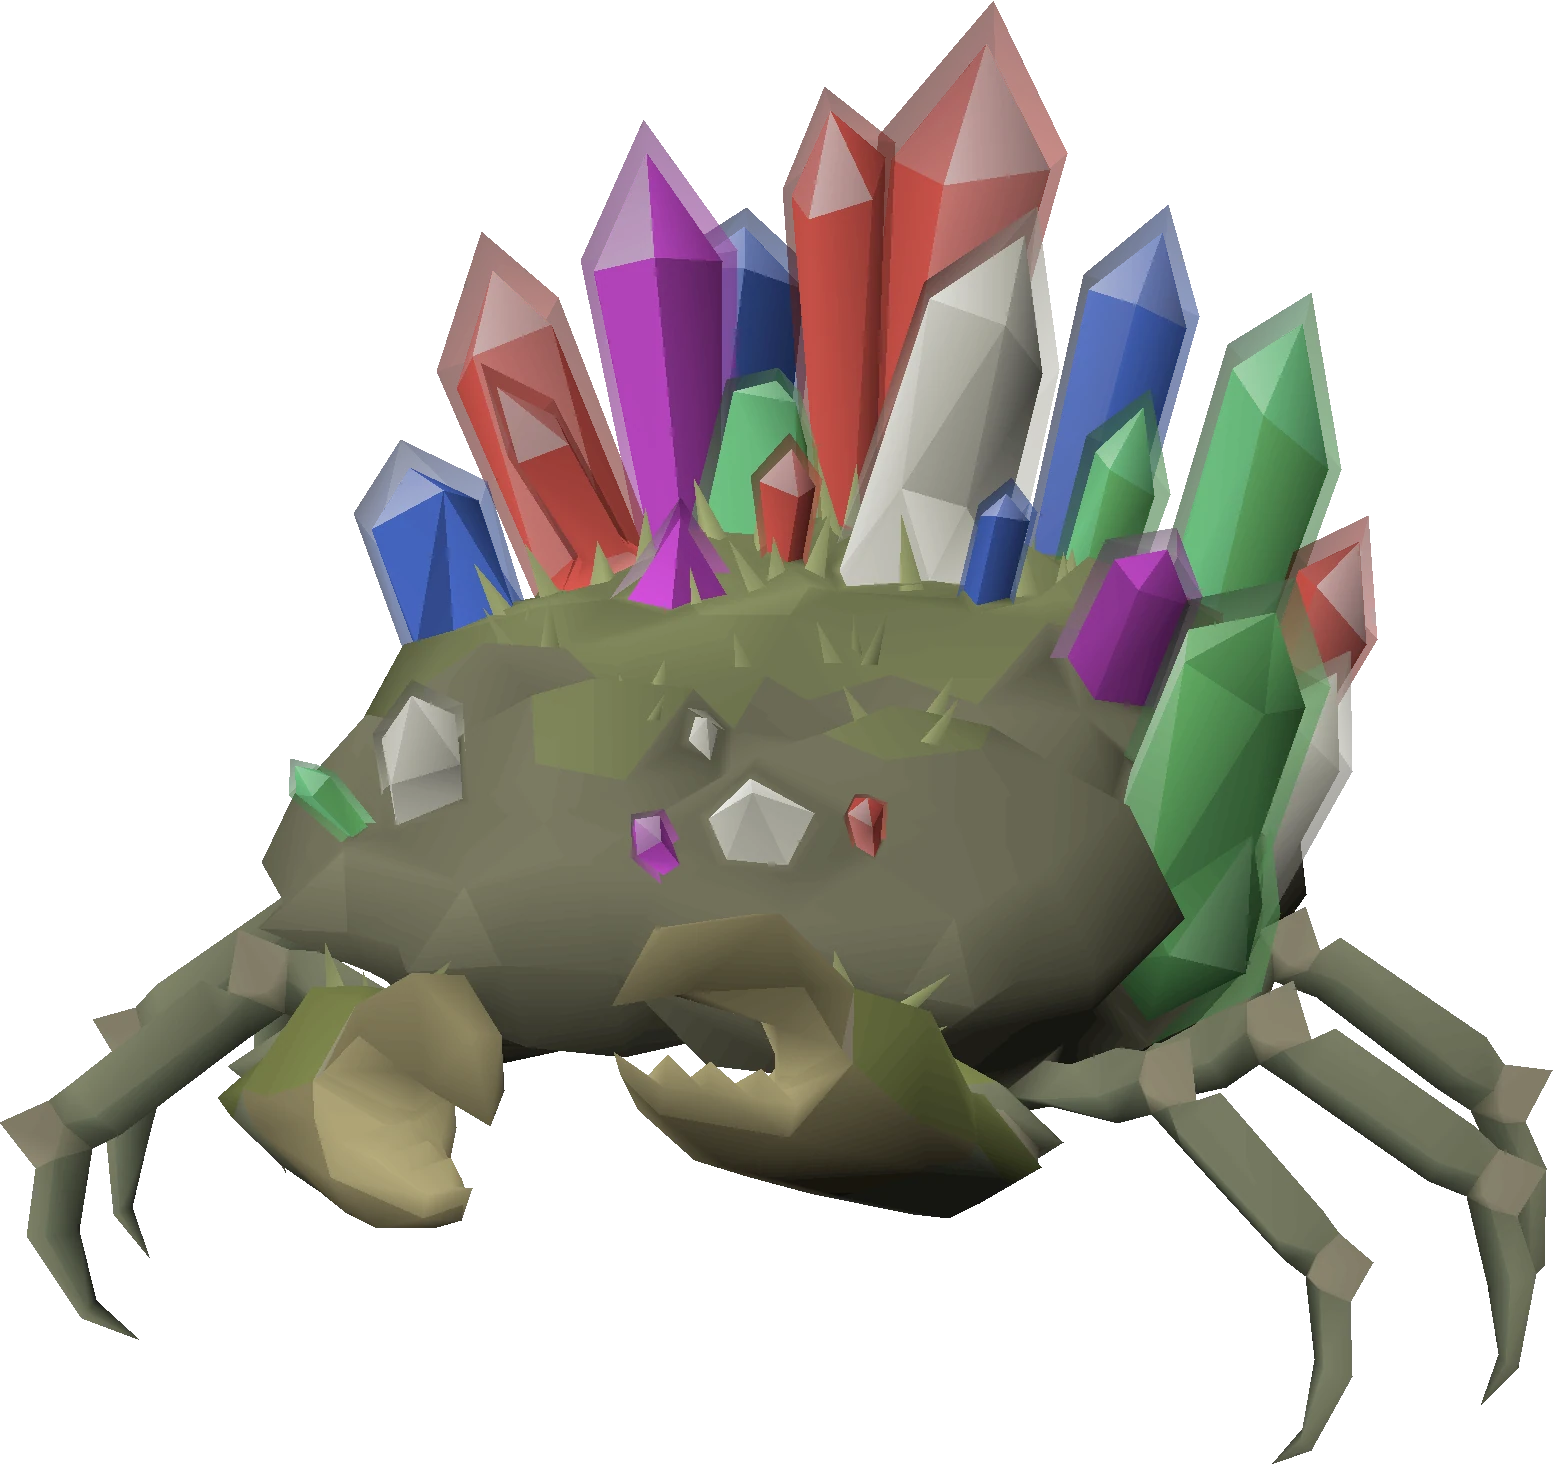
The Gemstone Crab never dies and burrows to the next of three mines about every 10 minutes, and the nearest cave always leads to it. It does not count as a Slayer task, so a Slayer helmet adds nothing. Routes and gear are in our Gemstone Crab guide.
What to Buy With NMZ Points
Points have one job before anything else: keeping your absorption barrel full. After that, imbues are the best use, and the order depends on how you fight.
- 1
Absorptions and overloads,
1,000 and 1,500 points a dose. Each barrel holds up to 255 doses of each potion.
- 2
Berserker ring (i), 650,000.
Imbuing doubles the ring's bonuses, so +8 Strength instead of +4. This is the melee trainer's first imbue.
- 3
Slayer helmet (i) or black mask (i), 1,250,000.
The 16.67% melee bonus on task is already on the unimbued item; the imbue adds 15% Ranged and Magic. Buy it once you do Slayer with more than one style.
- 4
Salve amulet(ei), 800,000.
The (e) already gives 20% melee accuracy and damage against undead. The imbue adds Ranged and Magic, and imbuing a salve at NMZ is an elite Ardougne Diary task.
- 5
Ring of suffering (i) at 725,000,
then the other rings at 650,000 (ring of the gods needs a holy wrench in your inventory) and the granite ring at 500,000.
- 6
Herb boxes, 9,500 points each,
up to 15 a day. Each box rolls the herb table seven times. Ironmen cannot buy them here.
| Item | NMZ points | With hard Combat Achievements | Soul Wars Zeal Tokens |
|---|---|---|---|
| Black mask or Slayer helmet | 1,250,000 | 625,000 | 500 |
| Salve amulet or salve amulet (e) | 800,000 | 400,000 | 320 |
| Ring of suffering | 725,000 | 362,500 | 300 |
| Berserker, warrior, archers or seers ring | 650,000 | 325,000 | 260 |
| Ring of the gods, tyrannical or treasonous ring | 650,000 | 325,000 | 260 |
| Granite ring | 500,000 | 250,000 | 200 |
NMZ is not the only place to imbue. Soul Wars sells the same imbues for Zeal Tokens, and Emir's Arena sells a scroll of imbuing for 200 of its points that can be moved between items. Items imbued with NMZ points can be uncharged for a full refund and re-imbued with the scroll. Source: the wiki's Imbuing page.
Hours and Points to Your Goal
These use the XP table and the wiki's NMZ rates. Real rates sit below the top figure at 60 and above it with better gear, so treat them as planning numbers.
| Goal | XP or points needed | Rate used | Time |
|---|---|---|---|
| 60–70 | 463,885 XP | 50,000–80,000 an hour (hard rumble, overloads) | About 6–9 hours |
| 60–70 | 463,885 XP | 100,000 an hour (normal AFK rumble) | About 5 hours |
| 70–99 | 12,296,804 XP | 100,000–105,000 an hour | About 117–123 hours |
| 60–99 | 12,760,689 XP | 100,000–105,000 an hour | About 122–128 hours |
| 80–99 | 11,048,363 XP | 100,000–105,000 an hour | About 105–110 hours |
| Berserker ring (i) | 650,000 points | 250,000 or 400,000 an hour | About 2.6 or 1.6 hours |
| Slayer helmet (i) | 1,250,000 points | 250,000 or 400,000 an hour | About 5 or 3.1 hours |
| Every NMZ imbue (one helm, one salve) | 7,825,000 points | 250,000 or 400,000 an hour | About 31 or 20 hours |
Point rates are before the potions you drink, and a full AFK restock costs 120,000. Three melee skills from 70 to 99 on the AFK setup add up to roughly 350–370 hours, which is why most players split the work between NMZ, Slayer and active methods.
Ironman, HCIM and Pure Notes
- 1
Ironman:
you can buy potions and imbues, but only scrolls of redirection from the resources tab, so no herb boxes, and you cannot join group rumbles. The wiki singles out the AFK absorption setup as a good points-and-XP mix for ironmen saving for imbues. More in our Ironman combat training guide.
- 2
Hardcore Ironman:
NMZ is on the wiki's list of safe deaths, so you keep your status. It is not safe for Hardcore Group Ironman; leave by drinking a wake potion on the north or south side of the arena if a dream goes wrong.
- 3
Pures:
absorptions work at any Defence, since at 1 HP each hit costs at most one point. The wiki still recommends 60 Defence for absorption runs, and obsidian needs 60 Defence, so 1 Defence builds use their best Strength gear instead. See our pure builds guide.
Common Mistakes
- 1
Eating the rock cake instead of guzzling it.
Eat stops at 2 HP, and at 2 HP every hit can drain 2 absorption points instead of 1.
- 2
Lowering HP before the overload finishes.
The overload's 50 damage lands over several seconds and is not absorbed. Guzzle or feel the orb mid-overload and that damage can kill you.
- 3
Running Dream Mentor bosses with Desert Treasure I switched off.
Every kill takes an 83.33% points penalty. Enable both or neither.
- 4
Wearing obsidian armour or the berserker necklace with a whip or scimitar.
The bonuses only apply to obsidian weapons, while the necklace's -20 defences apply to everything.
- 5
Training in practice mode, or clicking Ultimate force on a points run.
Practice gives no XP or points at all, and Ultimate force kills give no points.
Where Paid Help Fits
NMZ is cheap in coins and expensive in hours: one skill from 70 to 99 is over 115 hours even on the best AFK setup. If you would rather spend that time on bossing or Slayer, our melee training service trains Attack, Strength or Defence by hand on the route you pick, NMZ included, and the points it earns stay on your account for imbues.
FAQ
Is NMZ better than Slayer for melee training?
For AFK XP, yes: up to 100,000–105,000 melee XP an hour for one click every 20 minutes. For account progress, no. Slayer gives drops, Slayer levels and unlocks, and every Slayer XP on a melee task comes with about 4 melee XP. Use NMZ when you cannot play actively and Slayer when you can.
Did the Gemstone Crab make Nightmare Zone obsolete?
No. The crab is free and needs only Children of the Sun, but you follow it every 10 minutes, its XP per hit is 87.5% of normal, and it earns nothing toward imbues. NMZ gives 20 minutes per click and points. The crab is the better choice while you are still doing the five quests.
Does obsidian armour work with any melee weapon?
No. The set's 10% accuracy and strength and the berserker necklace's 20% damage only apply to obsidian weapons such as the Toktz-xil-ak. With anything else you lose both bonuses and keep the necklace's accuracy and defence penalties.
Do I need Dragon Slayer II for NMZ?
No. The locator orb is convenient, but the dwarven rock cake does the same job for 100 coins after the dwarf part of Recipe for Disaster. Use Guzzle, not Eat, to reach 1 HP.
Can you die in Nightmare Zone?
Your character can die in a dream, but NMZ is a safe minigame: you keep your items and unused potion doses, and a Hardcore Ironman keeps their status. Hardcore Group Ironman is the exception, where an NMZ death is not safe.
Do NMZ kills count for Slayer tasks?
Some do: Count Draynor for vampyres, Dad, Arrg and the Ice Troll King for trolls, Elvarg for green dragons and the Black demon for black demons, with more Slayer XP per kill on hard. The wiki still calls it a lot slower than normal Slayer training, so treat it as a low-effort extra.
How many points do I need before I can go AFK?
A full AFK inventory of 21 four-dose absorptions and 6 four-dose overloads costs 120,000 points. Earn the first batch with a hard endurance or Prayer dream; after that the absorption rumble earns more than it spends.
Still stuck on a mechanic? Ask the team on our Discord, it is free.
Bottom Line
Do five cheap quests, run a normal customisable rumble with absorptions at 1 HP, and NMZ gives up to 100,000–105,000 melee XP an hour for one click every 20 minutes. Spend the first points on potions, then the berserker ring (i). Use the Gemstone Crab until the quests are done, and switch to Slayer whenever you can play actively, because that is where the drops and long-term progress are.
Sources
Numbers and mechanics on this page come from these 13 OSRS Wiki pages:
Enjoyed the guide?
Drop a like — it helps other Adventurers find the good stuff.
Community
Comments
Silence in the hall…
Be the first Adventurer to leave a mark.
Join the thread
Add a comment
Tips, drops, or “this carried my account” — keep it useful.